
Back in 2011 when I finished my first Fair Isle vest, I briefly mentioned how I cut steeks the super clean and tidy way. Today I finally have the time to explain and demonstrate how I usually prepare and cut steeks. I have tried different ways, but I think machine-sewn steek is my favourite and most preferred. I don't like the bulkiness of crochet steeks, I am afraid of unravelling of unreinforced steels, and I would not want to do hand-sewing because it's too slow.
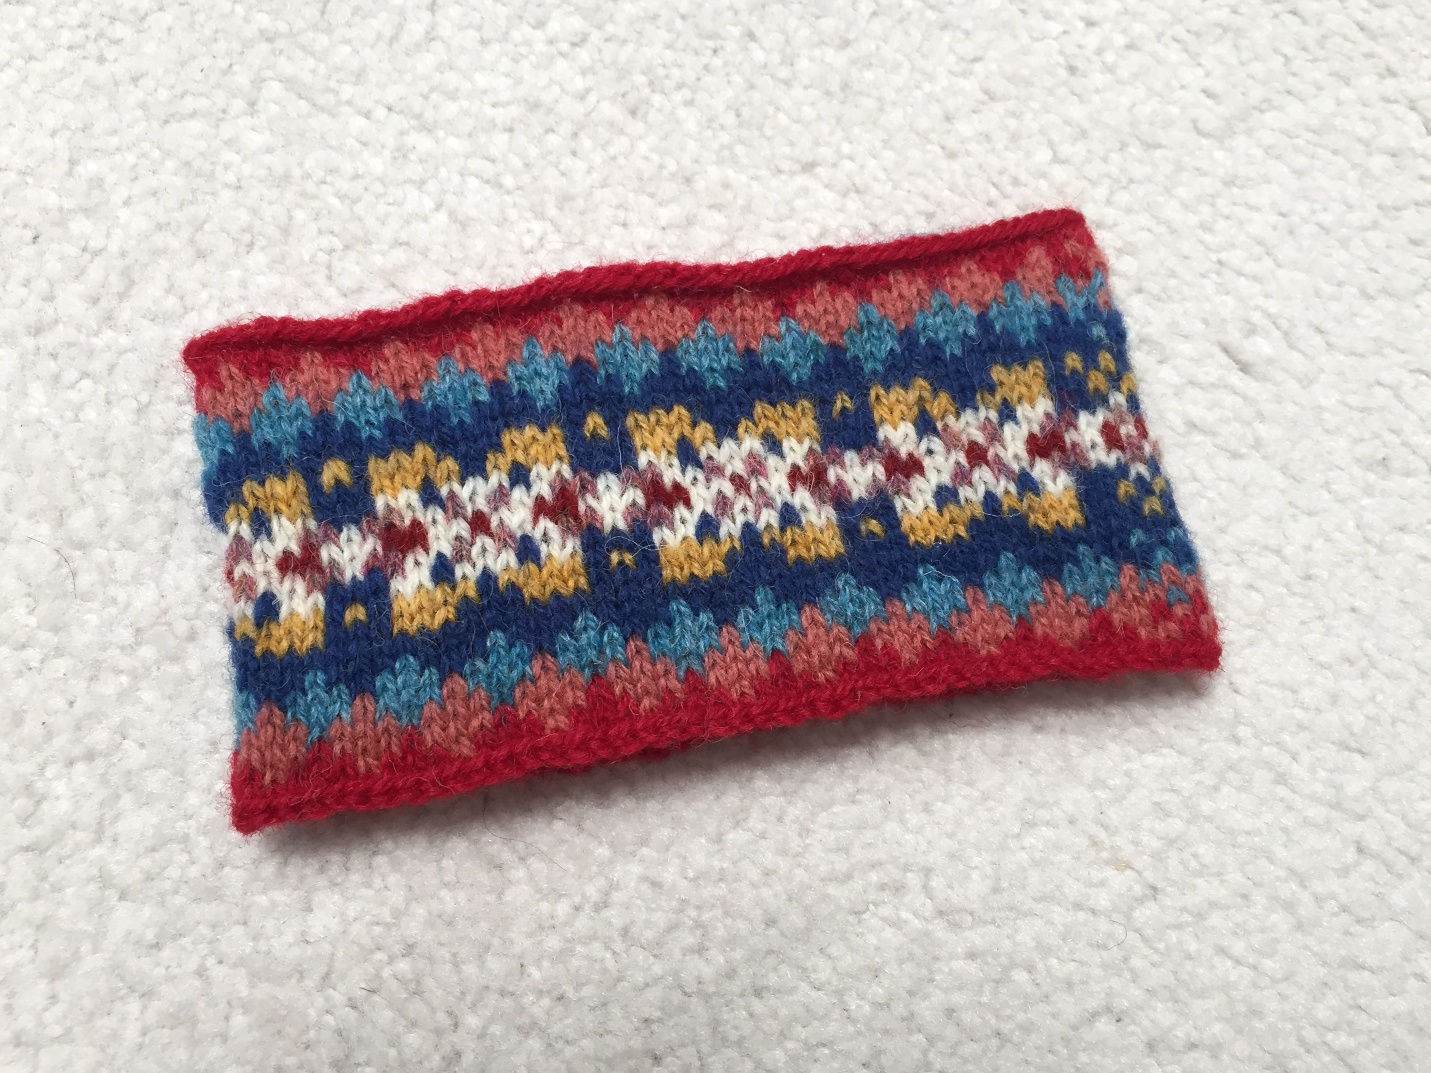


Here is the sample that I will used for demonstrations. It's knitted with leftovers of my Jamiesons of Shetland Spindrift 2ply stash on 3mm circulars.

I usually reserve 10 stitches for steeks. Of the 10 stitches, and 1st and 10th stitches are selvedge stitches, the seams are placed along the dotted line as shown in the chart on the right, and the steek stitches #3 to #8 will be cut away. Steek stitches #5 & #6 respectively represents the beginning and end of a round. It's where you would change colours. Usually I simply add in new colour and cut away the old one without any weaving or knots because I know yarn tails will eventually be trimmed away.
When placing the seam between stitches #1 and #2, remember to smooth out and pull all yarn tails to the right, and vice versa for the seam between stitches #9 & #10. That way, you won't catch any of the yarn tails onto your seams.
For machine steeking, I use very thin and almost invisible threads that I use for free-motion quilting. In this tutorial InvisaFil, a 100w 2ply soft polyester thread by WonderFil is sued for both top and bobbin threads. After all, I don't really want the stitches to be visible. Stitch length is set at 2 to 2.5mm, with upper tension set at 3. It's not necessary to use a ball point needle. I tried a size 80 Sharp and it worked out fine.


Look! The stitches are sunken and almost invisible on the right side. The wrong side is neat and now been strengthened by the tiny machine stitches.
The key is you don't want your reinforcing stitches to be to close to the change of colour locations. Be generous and reserve at least a total of 8 steek stitches to keep away from the mess of angel hairs.


Finally, make the cuts with a pair of sharp scissors. The mess is gone; all you left is a clean piece of art that you can do whatever finishing you want. I call this technique clean steels because the edges are already very tidy that you don't really need any finishing at all.