Dresden Plate

Belated Post #3 - Playful Dresden

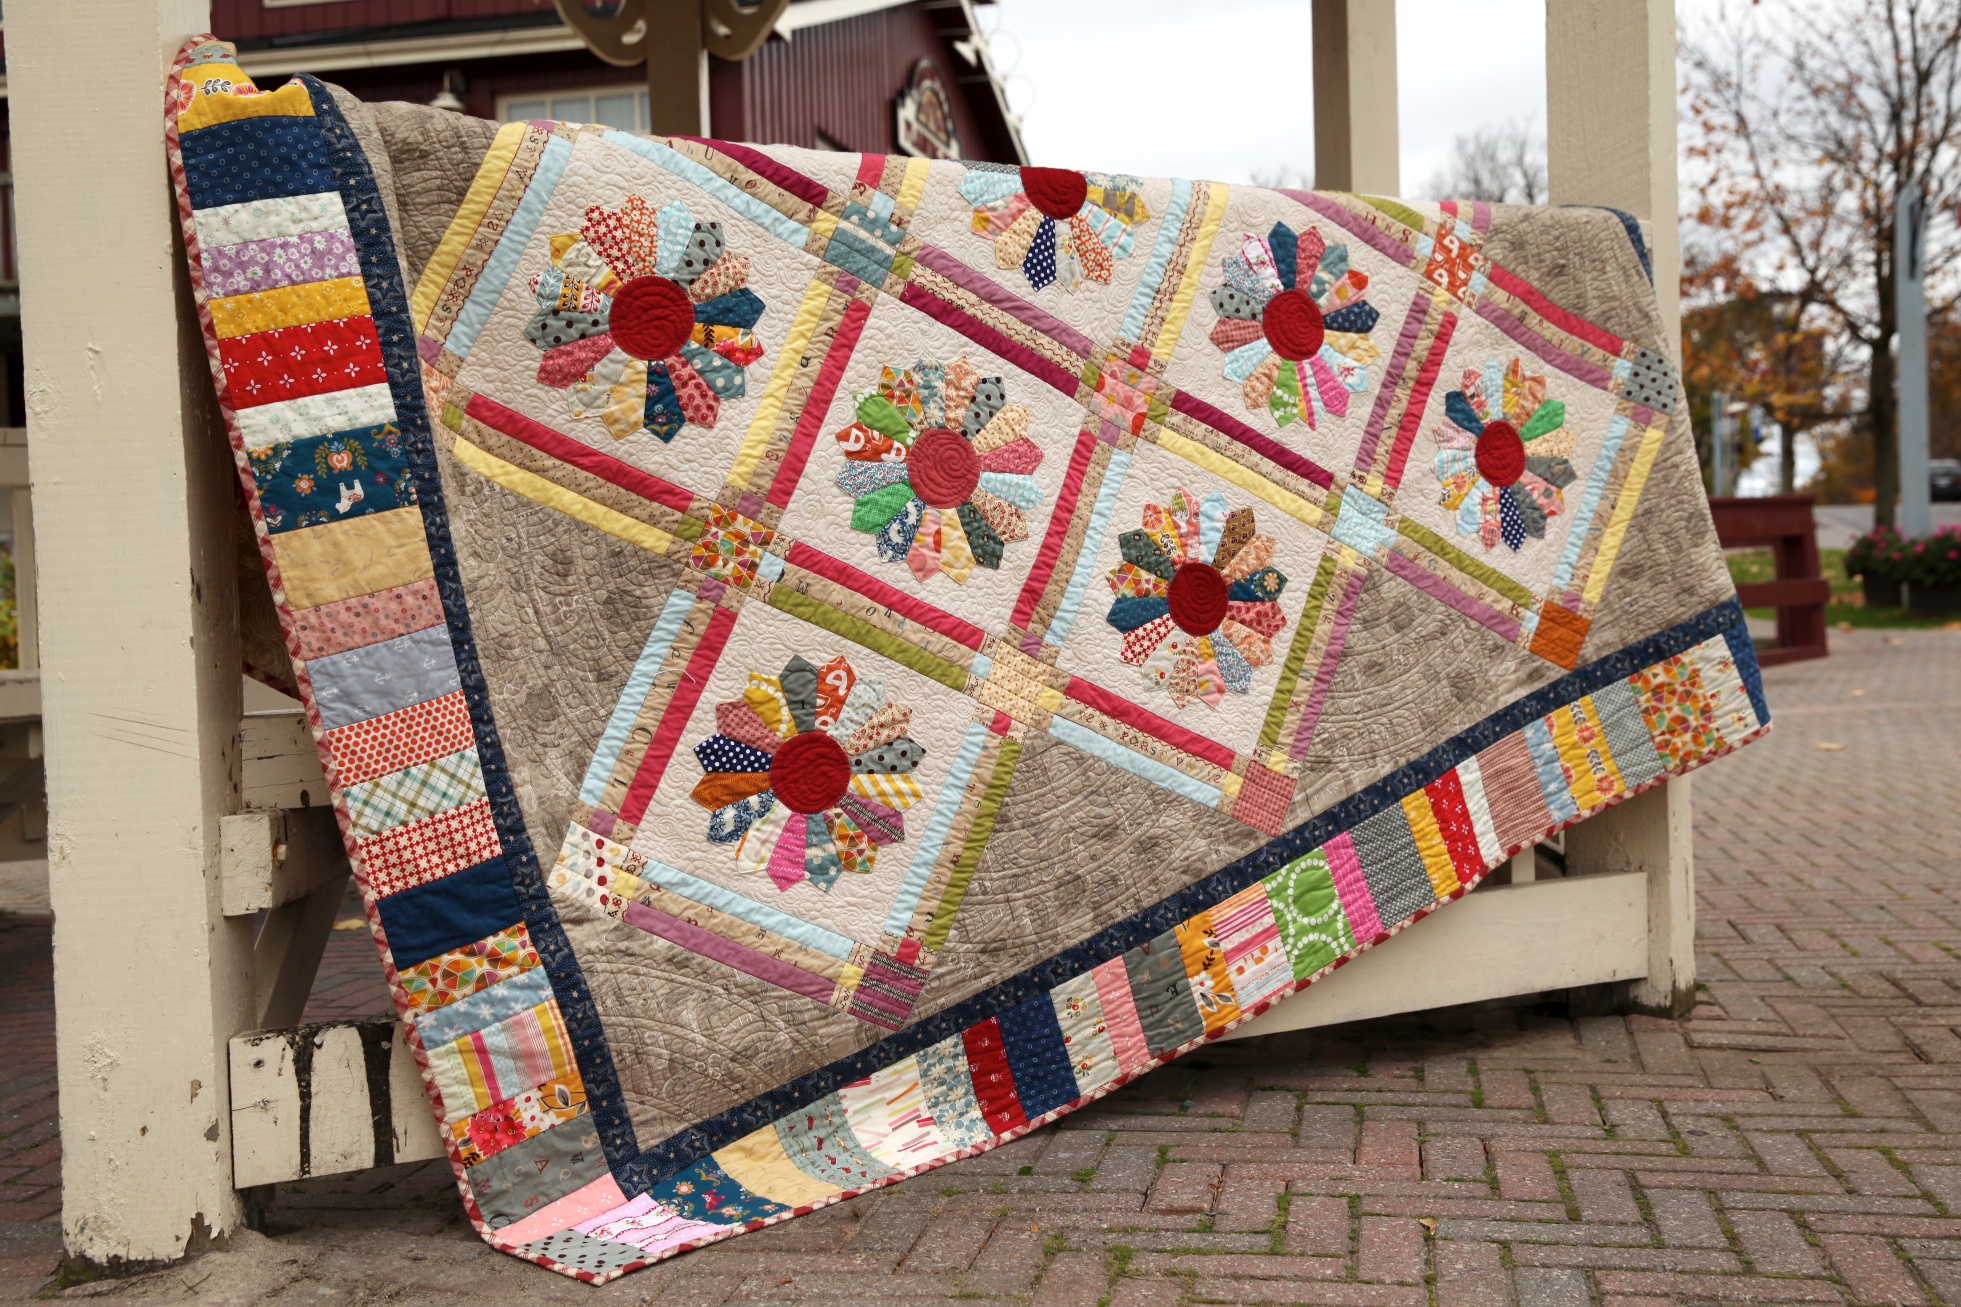
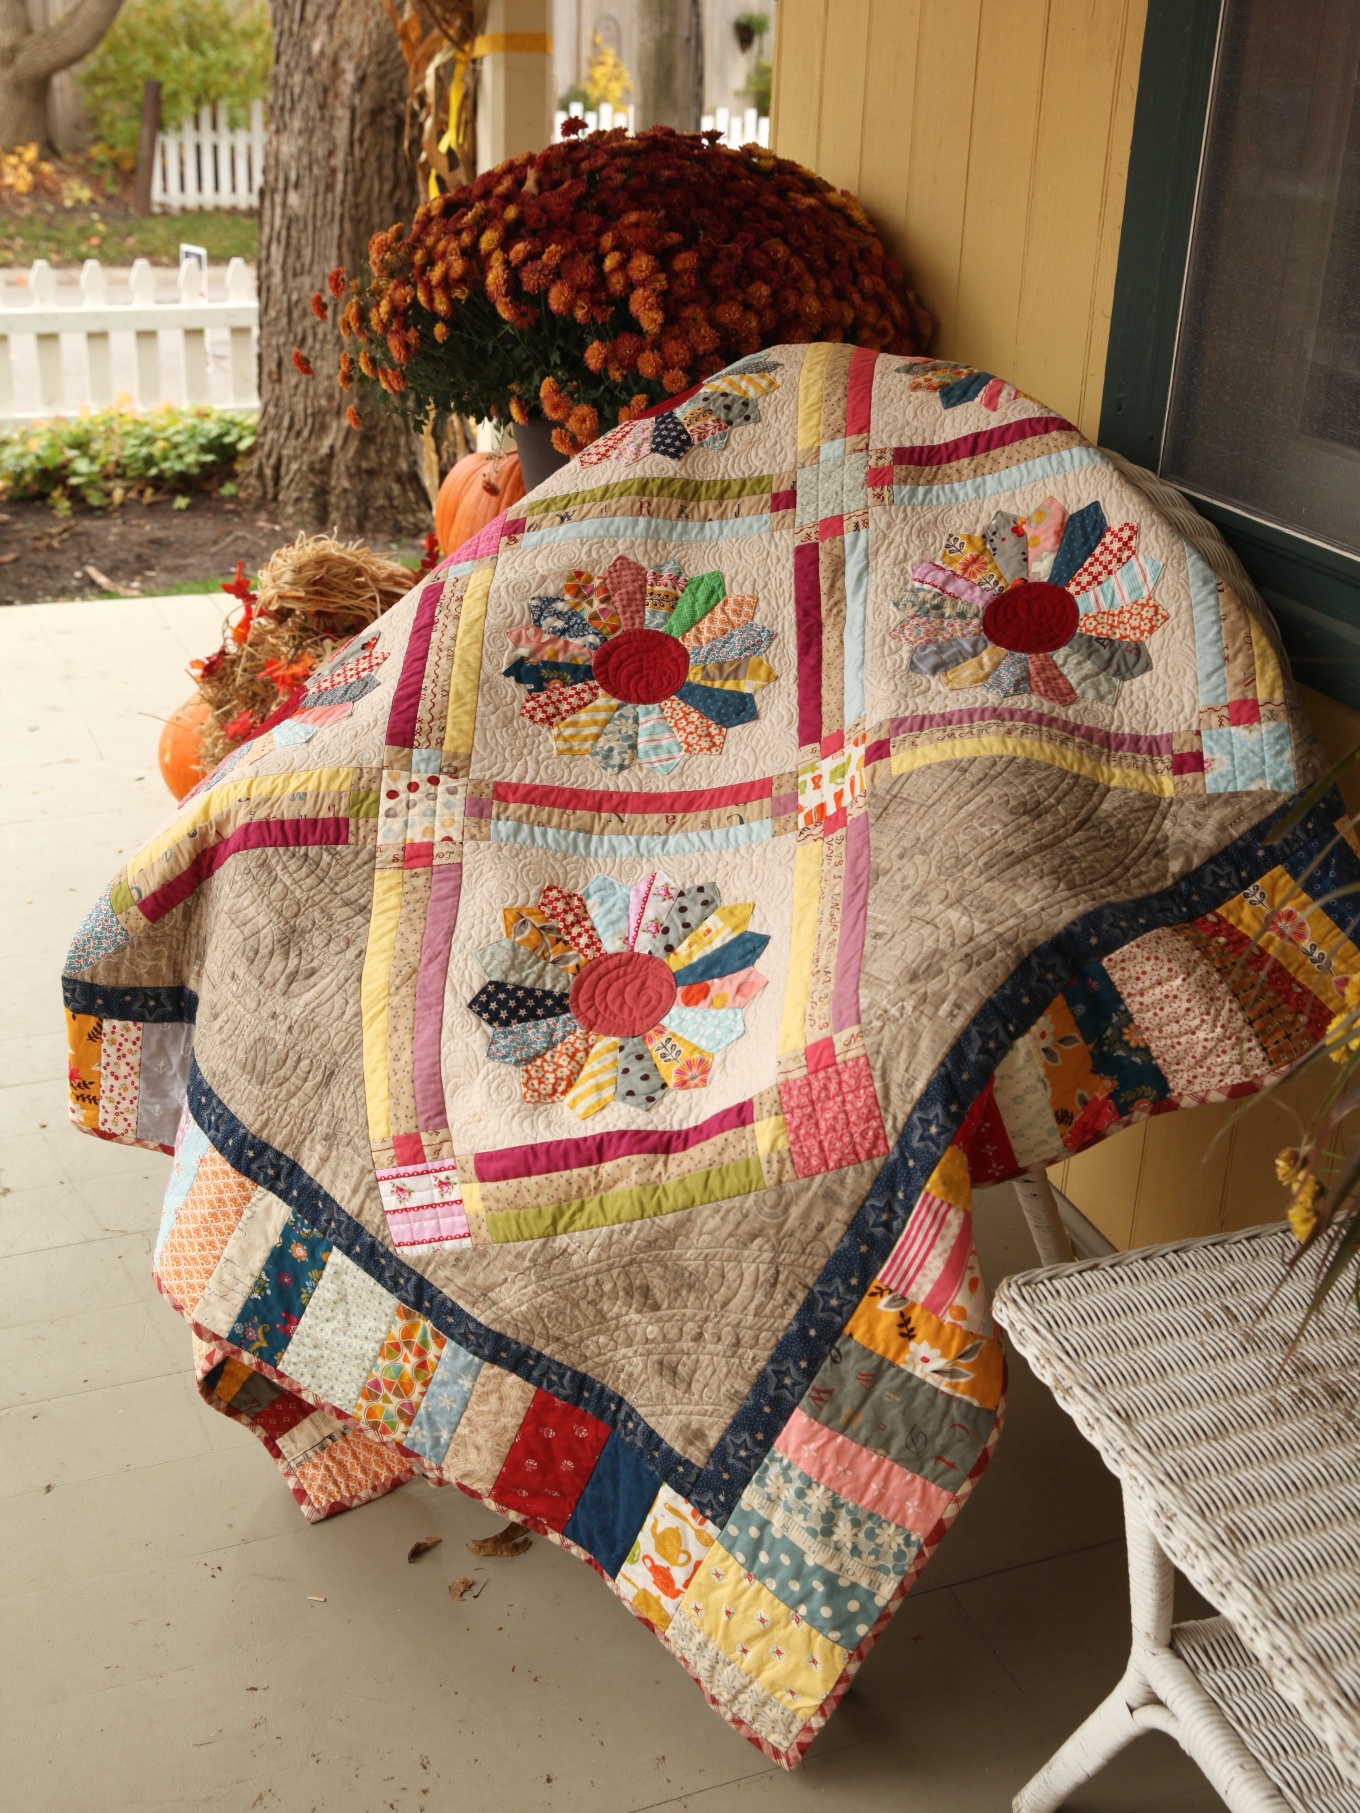
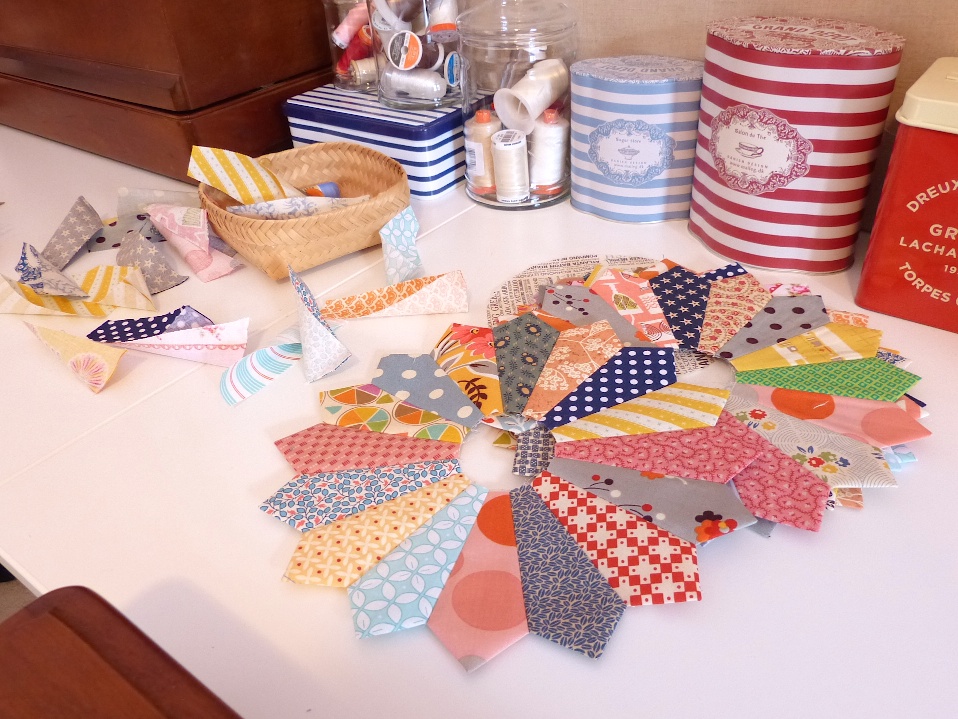
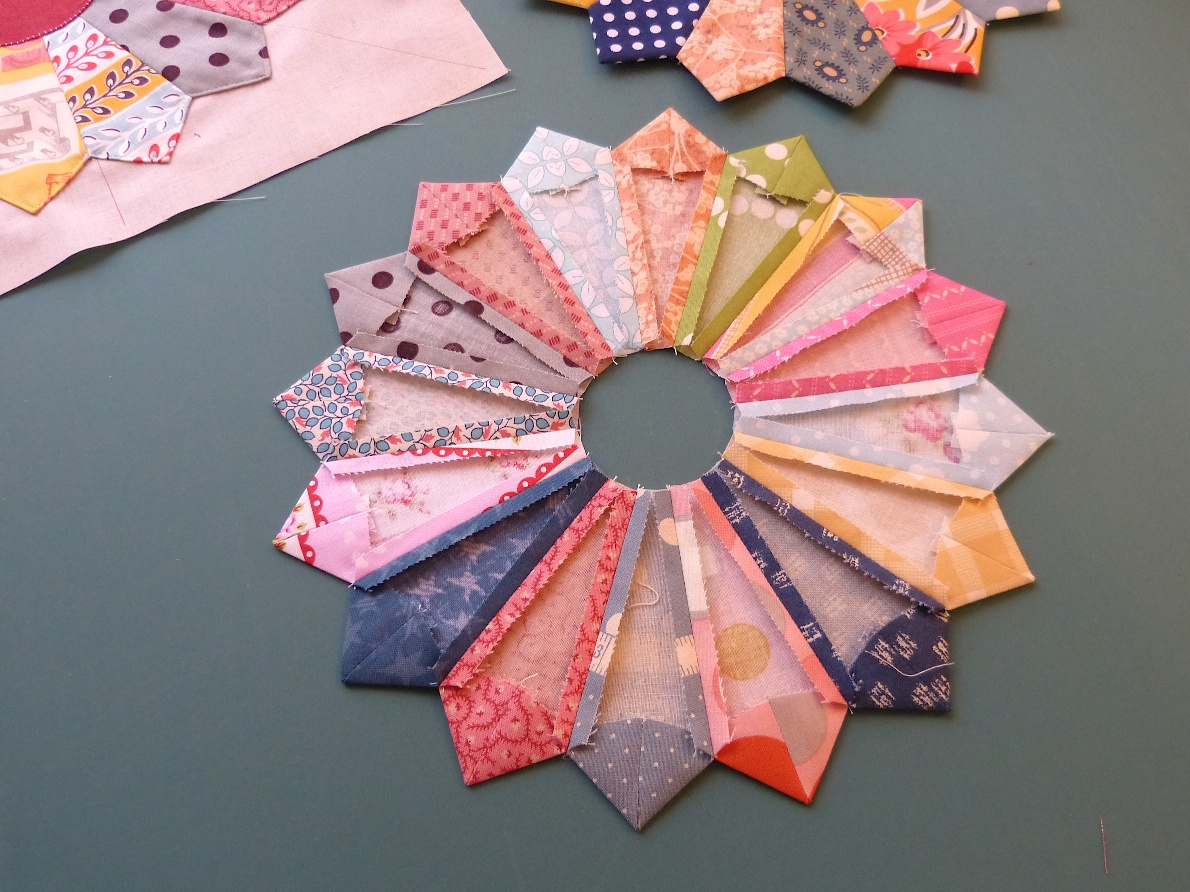
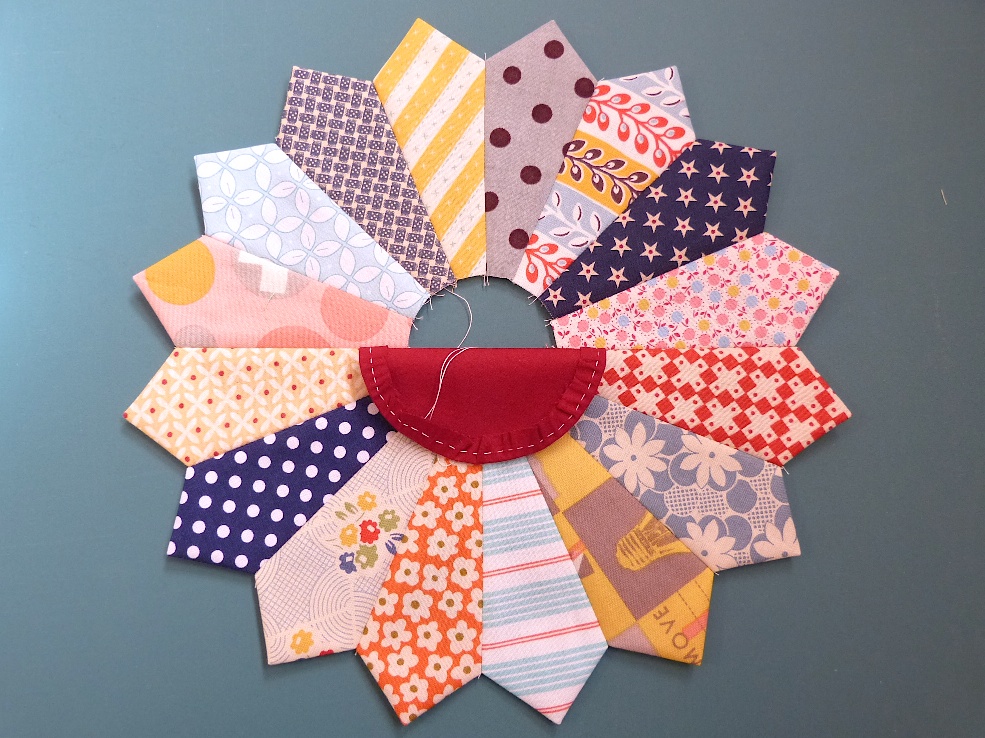
I feel so good to have a number of projects done last month. Here is the biggest one: my Playful Dresden Plates quilt. 

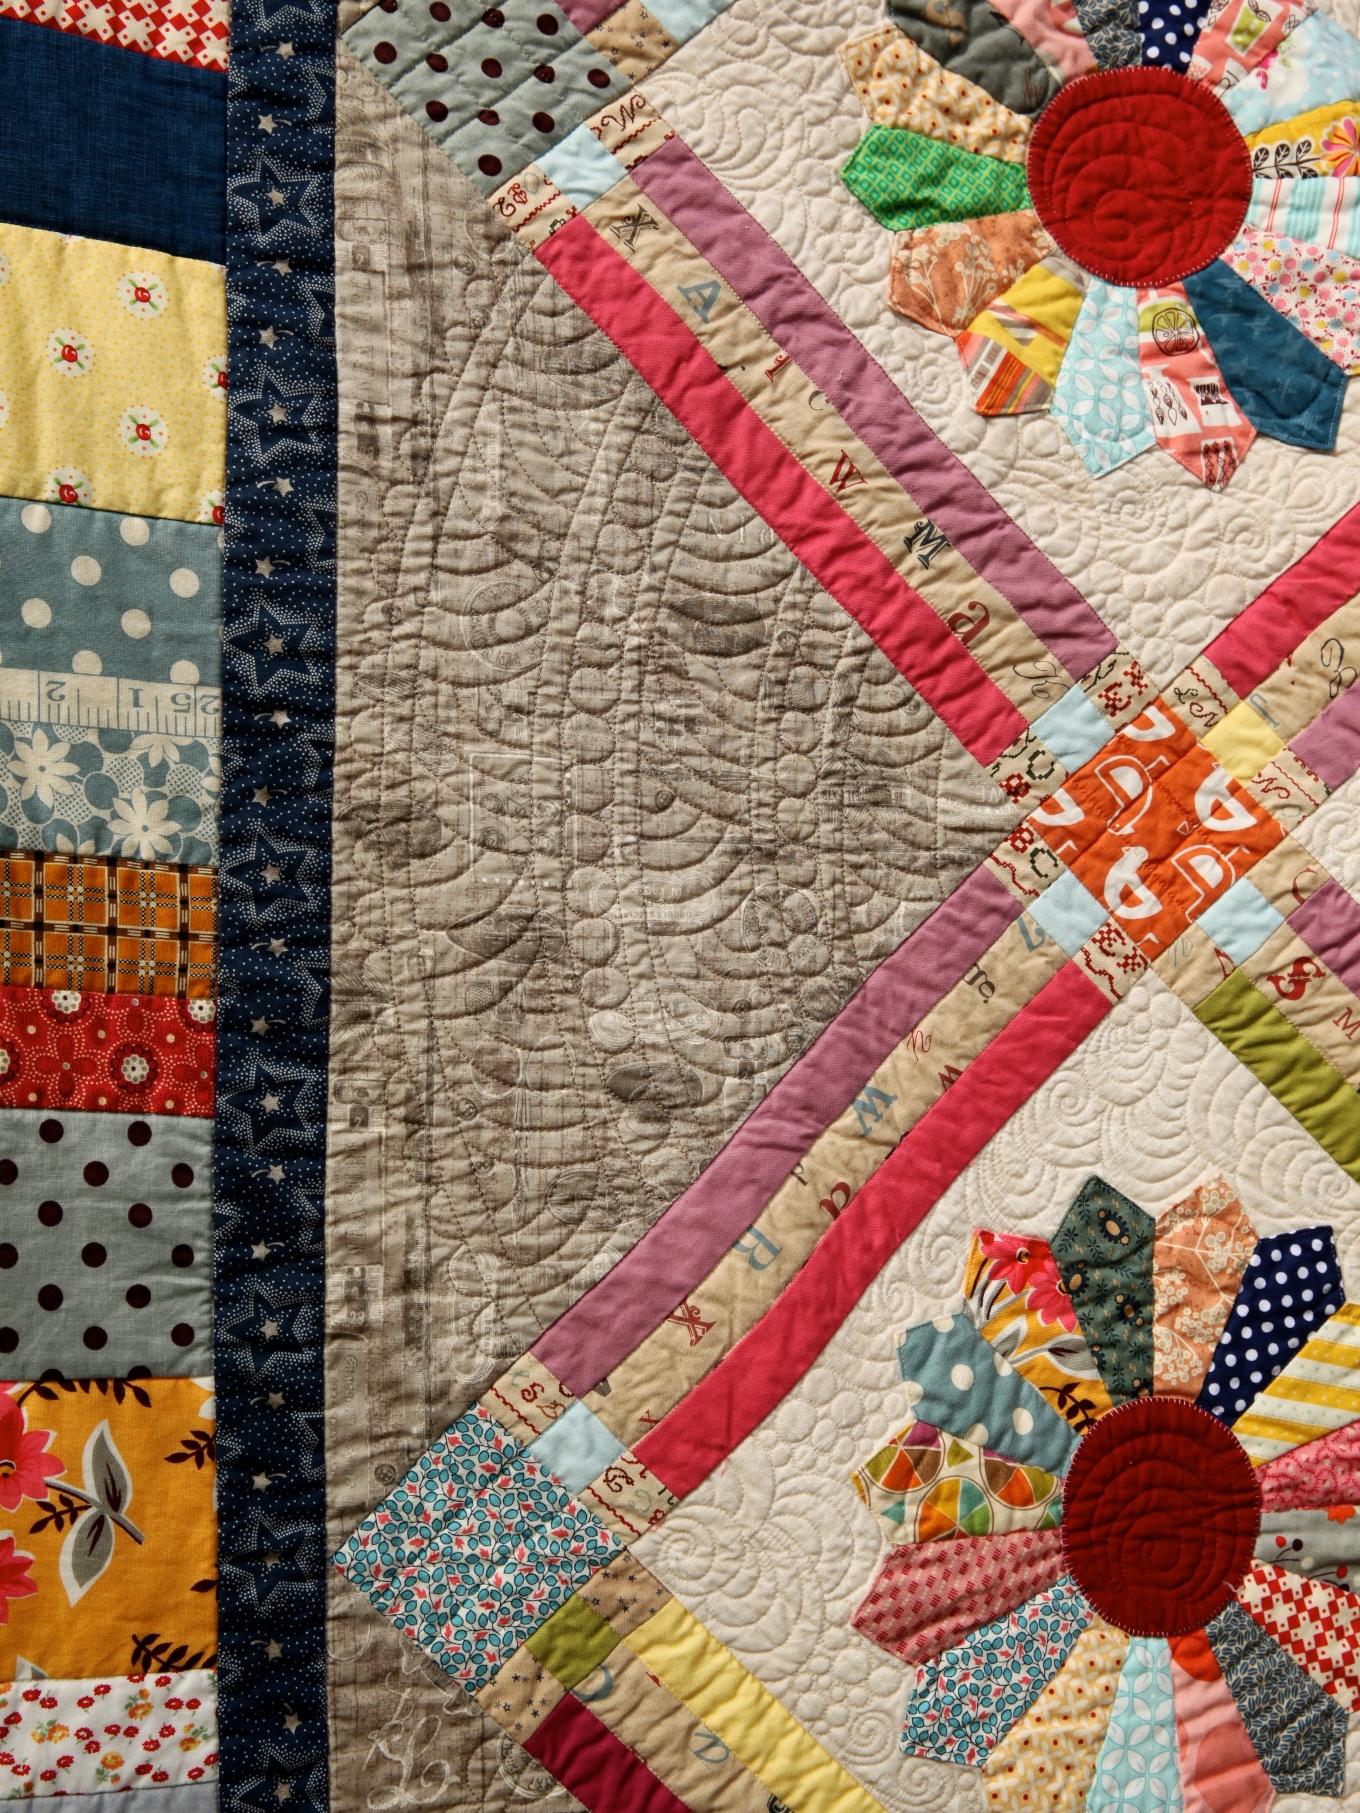
I really like my swirly FMQ on the background fabric. 

Too bad, I haven't had the chance to take some good photos, with a good camera. It really looks better than what it's shown here. 

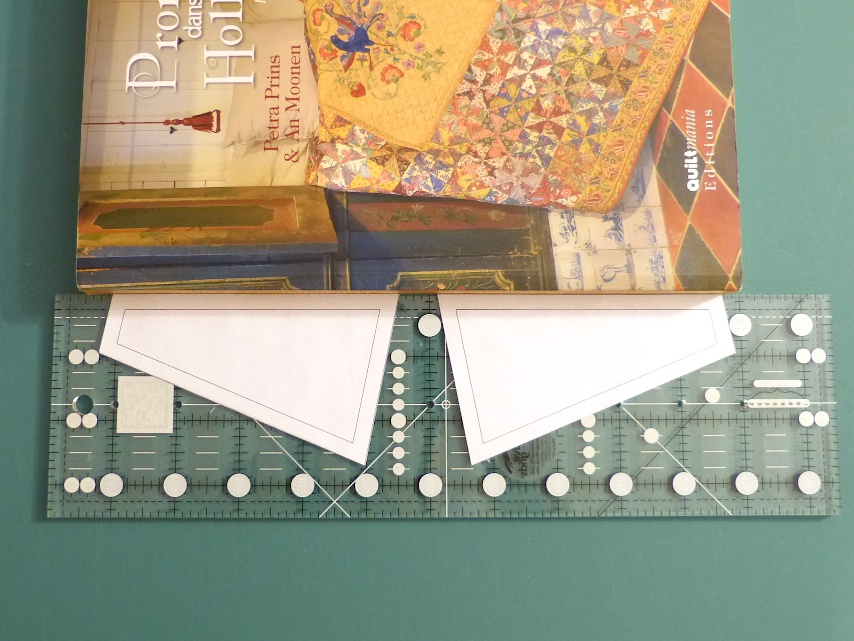
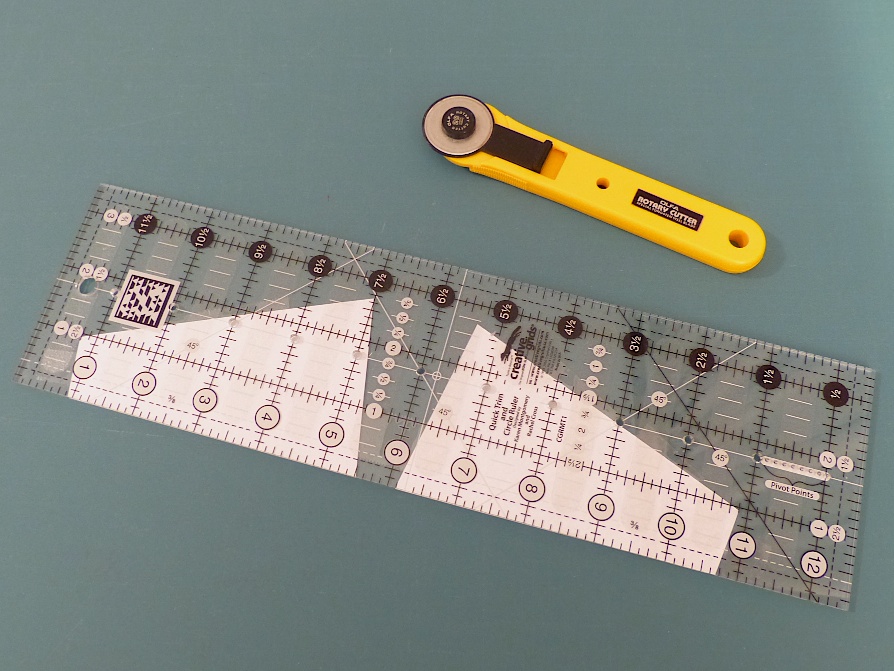
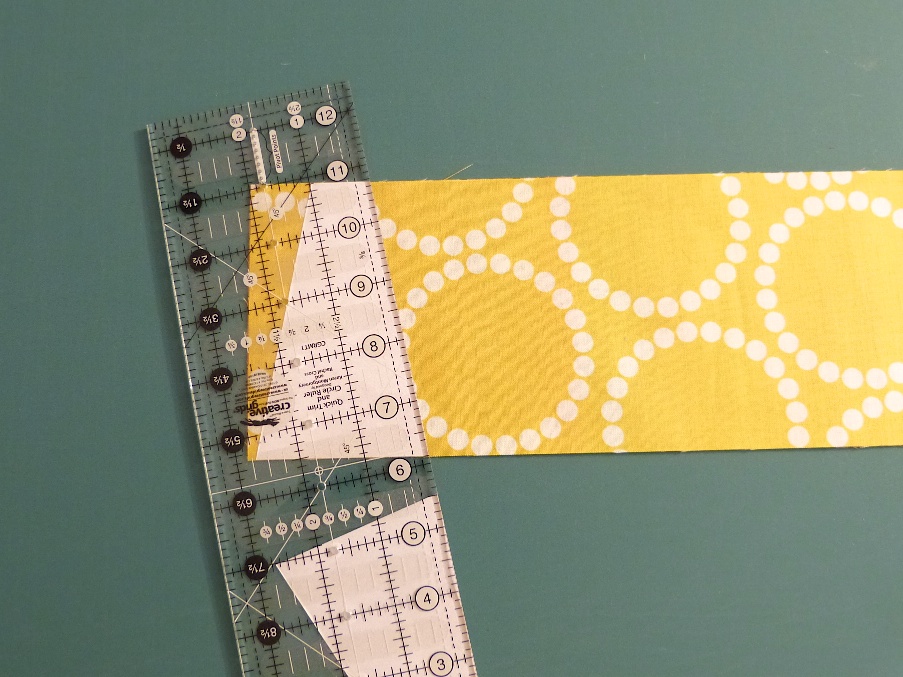
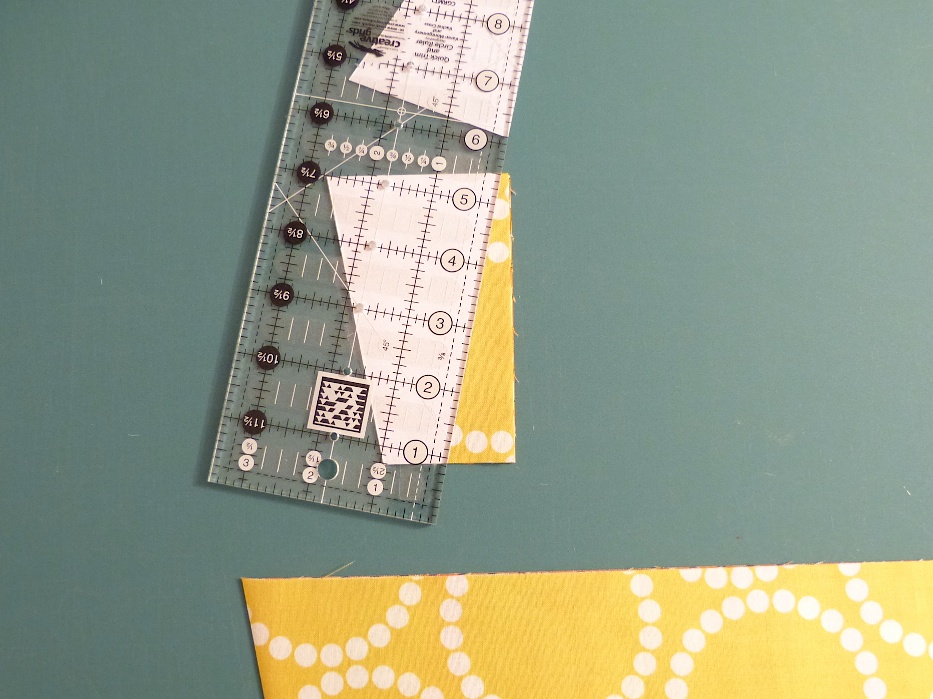
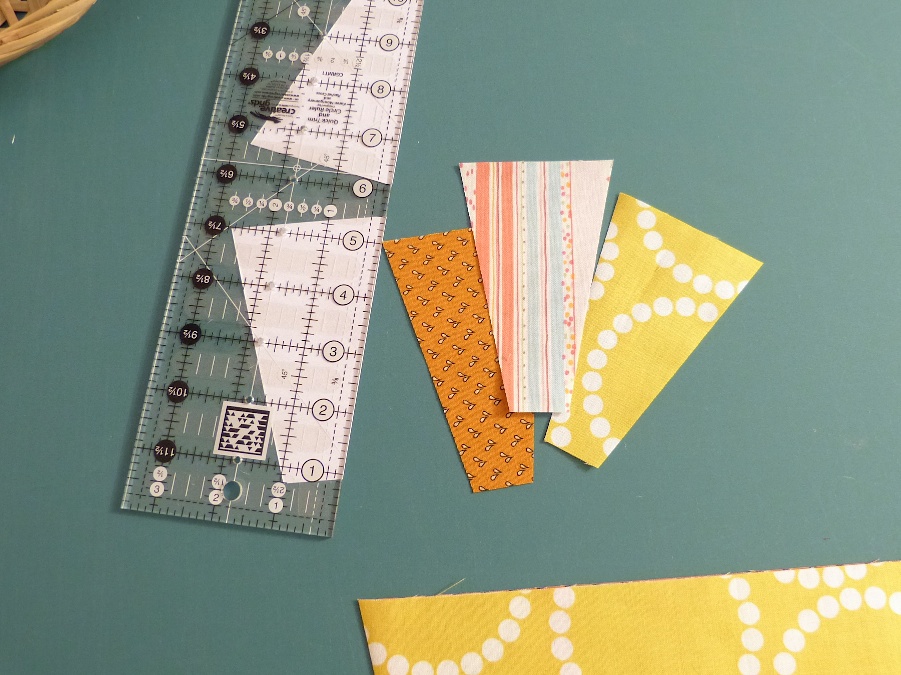
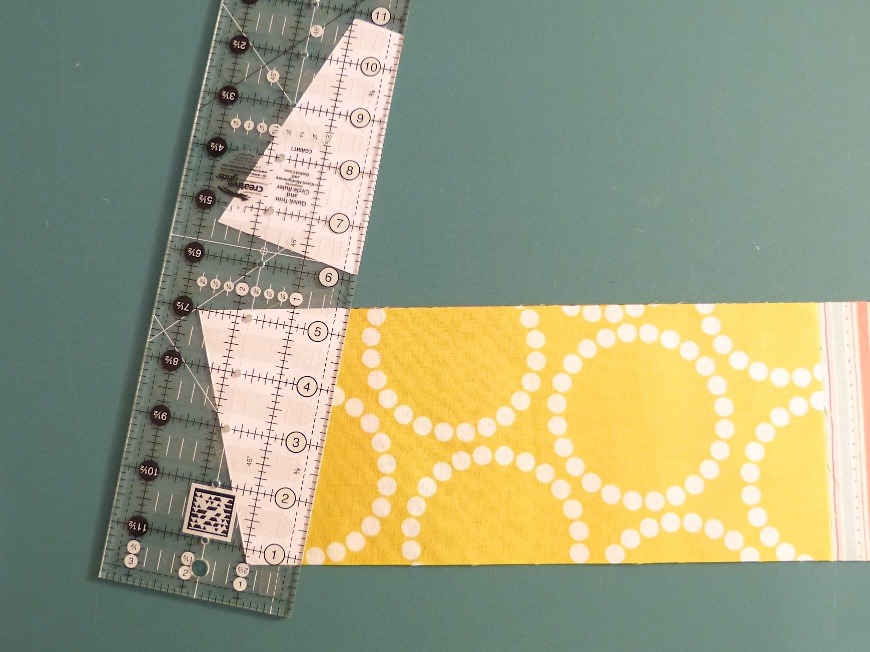
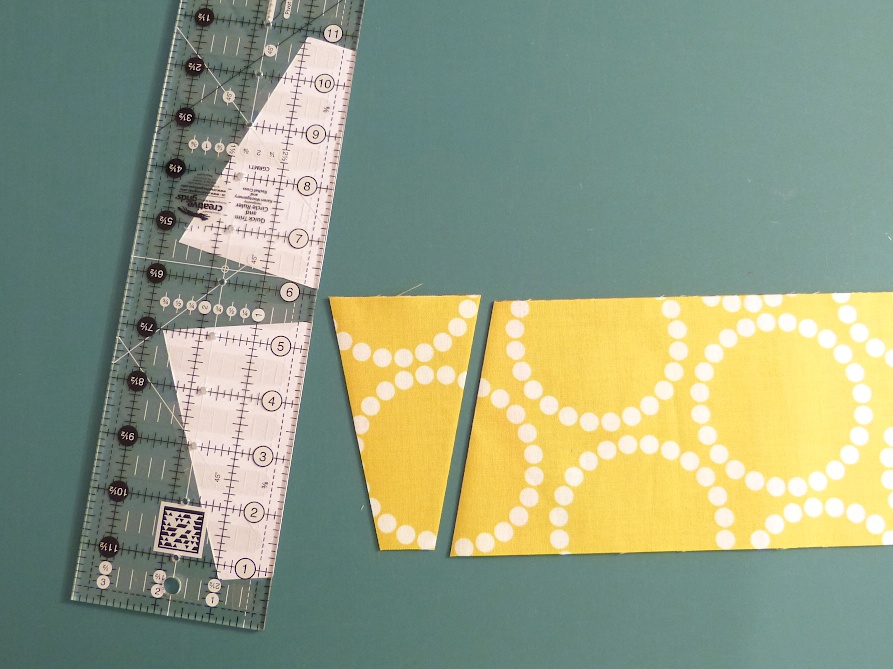
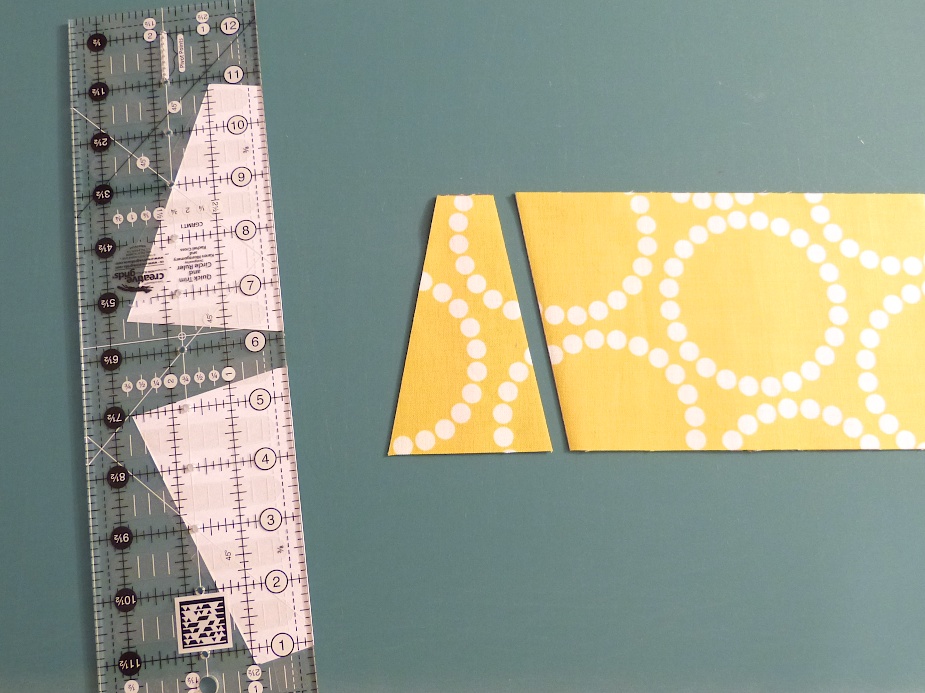
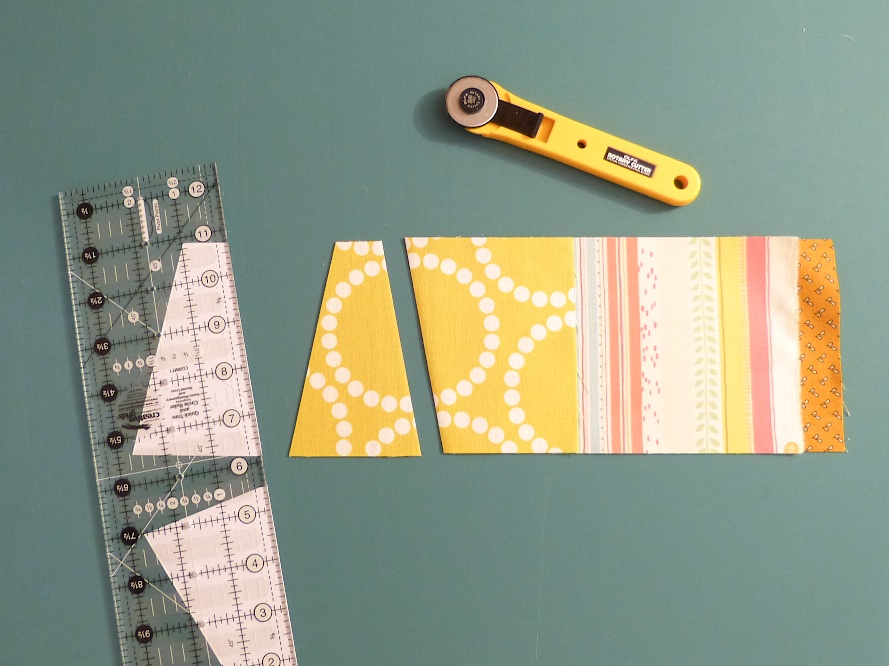
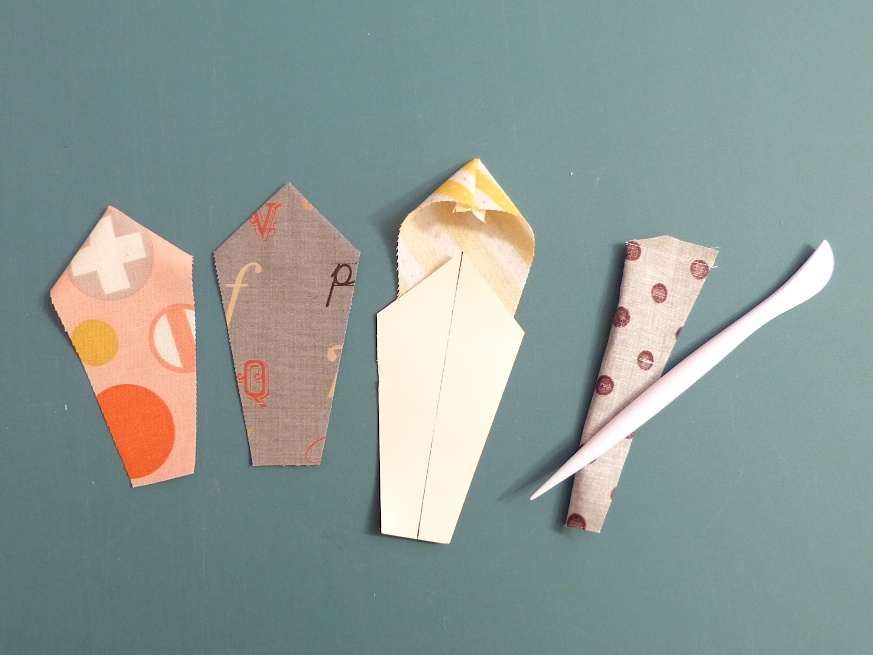
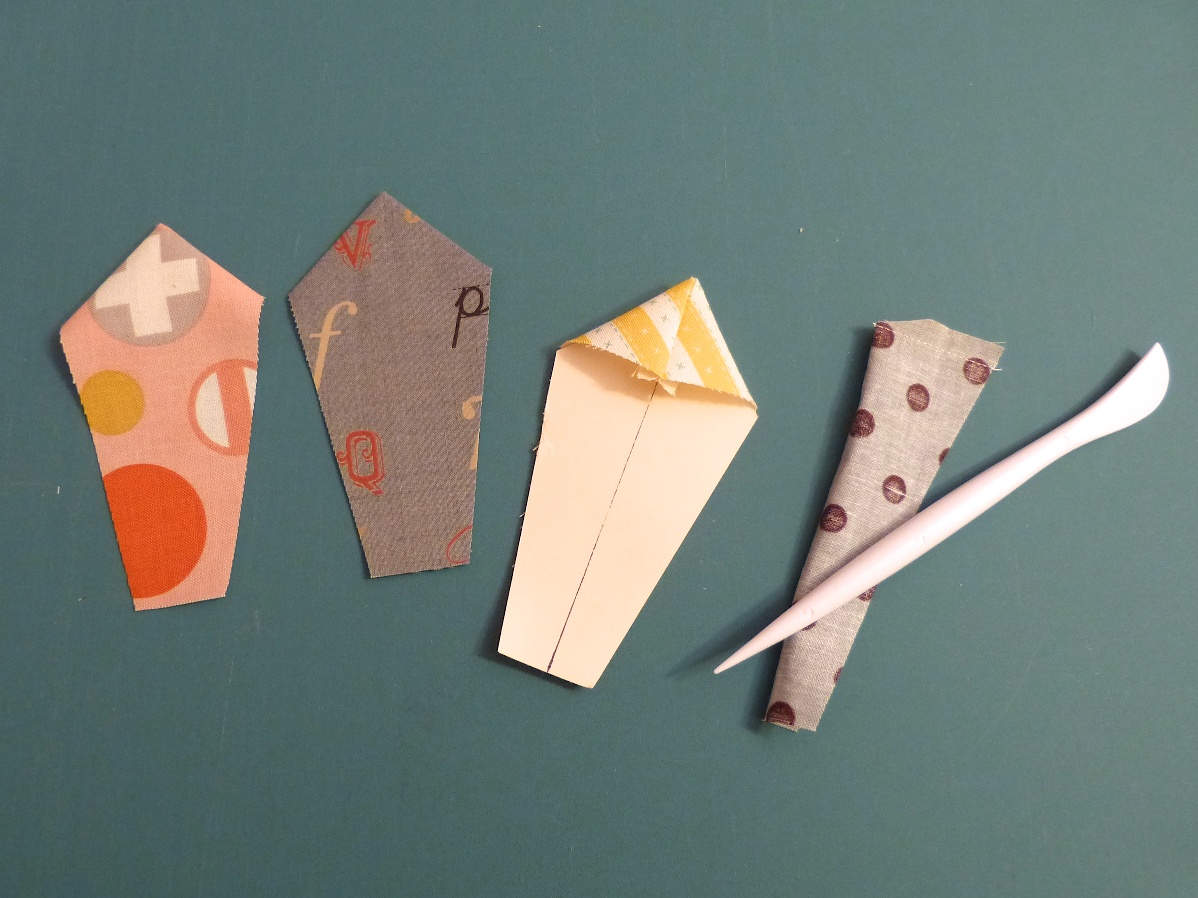
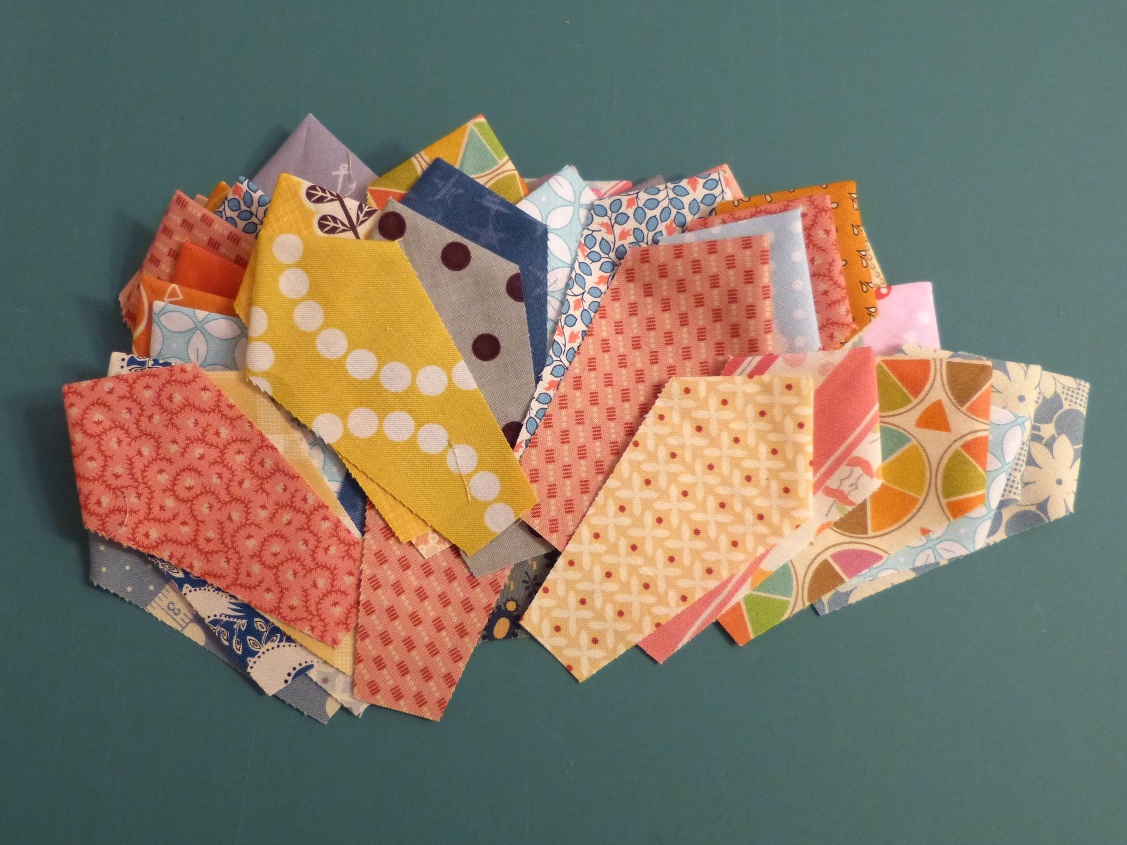
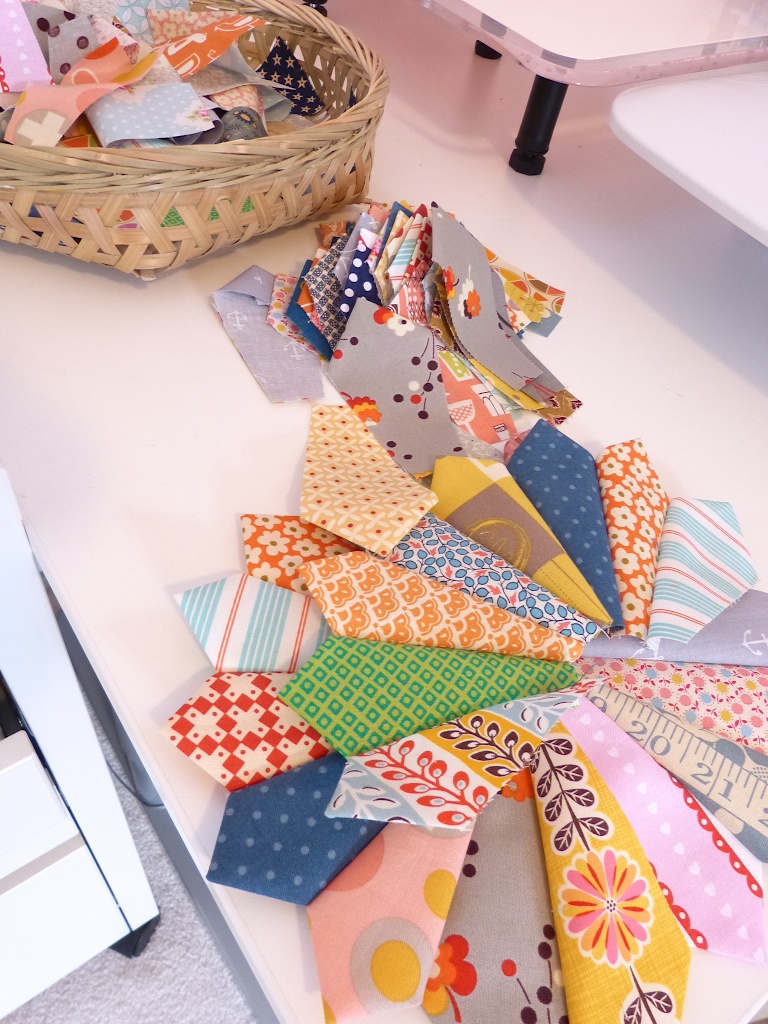
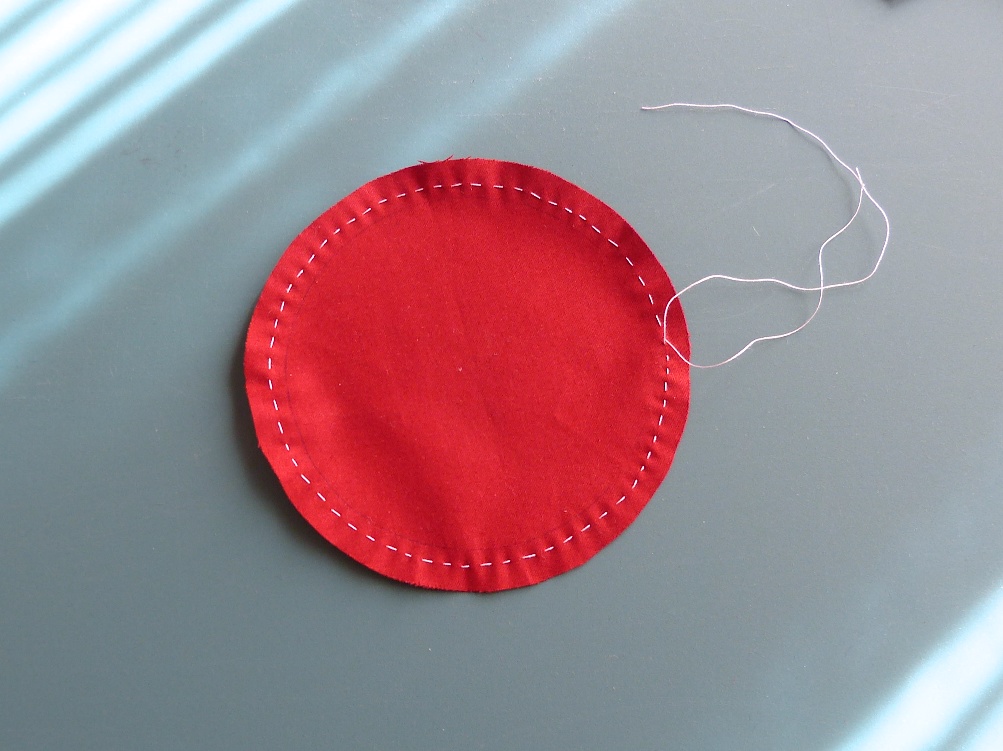
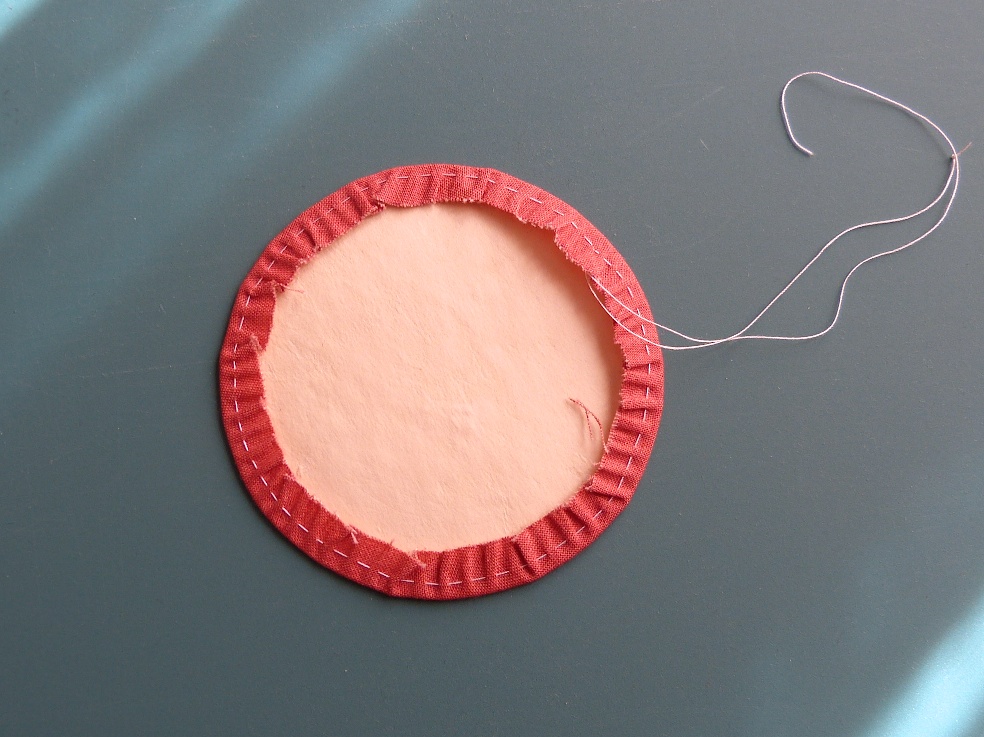
I did many new tries on this quilt: cutting with paper templates taped on a rotary cutting ruler, strip-pieced sashing, machine finished Dresden Plate blocks, quilting pebbles/bobbles as well as binding cut on bias. 

2015 Update:

The has been my husband's favourite bed quilt! After several washes it still looks like new. I love it, too. 

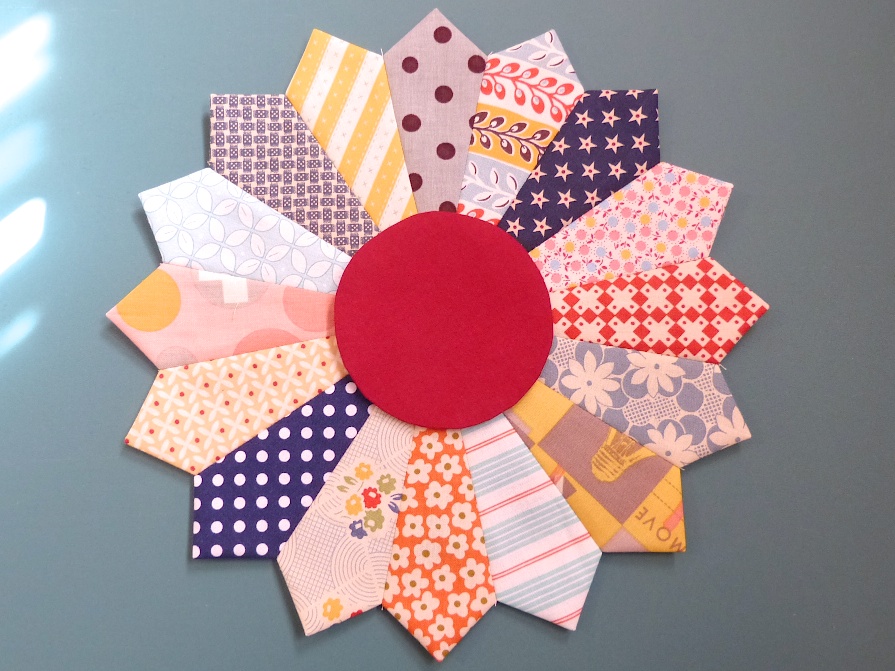
Here are the "better" photos I took in October, 2014:

Tutorial – Dresden Plates without a Specialty Ruler

Well, I do have a specialty ruler by EZ Quilting for cutting Dresden blades. But it is a 18 degree ruler so in order to make a full circle I have to cut 20 blades and sew 20 side seams, 20 top seams and press 20 side seams and 20 top seams. That’s tedious work. So in order to be less onerous I decided to reduce the number of blades and still make it look like a Dresden plate block. Mathematically it also needs to be easily divisible by 360 (to form a circle) and 4 (to be divisible in to halves and quarters so it can be easily centred to the background fabric and can be easily converted to a border design or fan patterns). The magic number happens to be 16. Since 16/20 = 0.8, it will take me 20% less time to assemble a block. Also, 360/16 = 22.5, it can be easily drafted, especially when I have access to AutoCAD. 

So, are you interested in Dresden along? Feel free to download and print the free Dresden templates (also supplied in the Patterns page) for this tutorial. The first page contains a set of two identical cutting templates for rotary cutting fabric blades, and the second page contains a pressing template for making a cardboard blade to press the pieced fabric blades centered. The finished Dresden Plate has a 10.5" diameter. 

This tutorial not only gives instructions on using the paper templates but also general guidelines on assembling a well-executed Dresden block. For all the efforts involved, it is worthwhile to do the job the right and accurate way. Without much more blahs, let's get started!

1. Print and cut the cutting templates. Please print with letter size paper and DO NOT SCALE the printing. Align and adhere the templates to one long edge of a rotary cutting ruler with invisible tape. Lightly pushing the ruler and templates against a book before taping helps to align the templates precisely. 

2. Prepare 4.5" wide fabric strips. Feel free to mix and match all sorts of prints and utilize the scrap pieces. Stack three to four strips together for speedy rotary cutting. In this tutorial I stacked three strips together. 

3. Position the ruler as shown, cut the first set of blades with the upper template. After the first cut, take the blade set out (but do not separate or distort the pieces), turn them up side down and cut the other side with the lower template. By now you may have realized why we need two templates: One for cutting the left edge and the other for the right edge!

4. For the subsequent cuts, simply move the ruler up and down, alternate between the upper and lower templates and cut as many blades as you need. Reminder: 16 blades = 1 Dresden plate. 

Beautiful, eh? Now, the cutting part is done. Let's proceed to the sewing part. 

5. Fold each blade in half lengthwise, right sides together. With stitch length set at about 1.5-2 mm, sew across the top edge. Chain-piece all blades. When finish sewing, trim the corner at the fold, turn blade right side out and finger-press seam allowance open,  A stiletto or fabric turner helps to make the peak pointy. 

6. Now, print the pressing template (it does not contain the quarter inch seam allowance on the top edge) and use it to make a pressing block with medium to heavy weight cardboard (think of cereal boxes). Mark the center line on the cardboard block. Before you press a blade, insert the cardboard block into the blade, align the seam with the marked center line. Press seam allowances open (you need to finger-press first so that the seam allowances would be less wayward under the iron). 

7. Back to the sewing machine. Piece 16 pressed blades together to form a "Dresden donut". Press seam allowances open (again I prefer all seam allowances opened to reduce bulkiness). 

8. Cut 4.25" (roughly) diameter circles in fabric of your choice. Make a 3.5" diameter circular cardboard template (or other sizes/shapes your prefer). Prepare the centre piece as shown. Alternatively, you can use fusible appliqué methods to prepare the centre piece. 

9. Pin the centre piece on top of the donut, machine or hand stitch them together. I machine stitched with a blanket stitch pattern. 

10. Finally, prepare a 12.5" x 12.5" background square, center the Dresden plate on top. The most efficient way to center the block is to simply draw an "X", corner to corner, on the background square. Finally, I did straight edge stitching along the periphery of the Dresden plate to stitch them together. 

I must admit it's a lengthy process but lots of fun! Feel free to jump back and forth within the assembly line and make the work less tedious! I am sure you will be 100% pleased with the final results!